In past workshops on downsizing and apartment living, I noticed that the one thing people enjoyed most was the hands-on creative mood board exercise. Participants immersed themselves into the task of tearing out images, choosing colours and textures, cutting, and glueing – and the initial doubts about not having any design knowledge were eliminated by the promising results produced.
Mood boards are fantastic tools to rediscover your creativity and to visualise your abstract ideas. They will help you gain clarity about your project and communicate your ideas to others – your family, friends, or an interior designer. There is no necessity for any design knowledge to create a mood board. All you need it an open mind and the courage to embrace this creative process.
Downsizing to a smaller home means sacrificing space, letting go of furniture and decorator items, giving up emotional items. Often, people find it hard to visualise their new home, the colour scheme, or their decorating style.
This is where my upcoming workshop Downsizing 101 will help. We will go through a list of seven things to consider when curating a mood board to achieve the best possible outcome. Following this framework means that you will learn how to use the elements & principles of design to curate a mood board with impact; you will be able to visualise your ideas and define your unique decorating style; you will eventually be able to create a happy home with the things you love.
The benefits of mood boards at a glance:
Mood boards will
• Spark your creativity
• Visualise your colour scheme
• Illustrate your unique decorating style
• Paint a clear picture of the overall look and feel of your space
• Improve your skills as interior decorator
• Help you take action and stay in control of your project

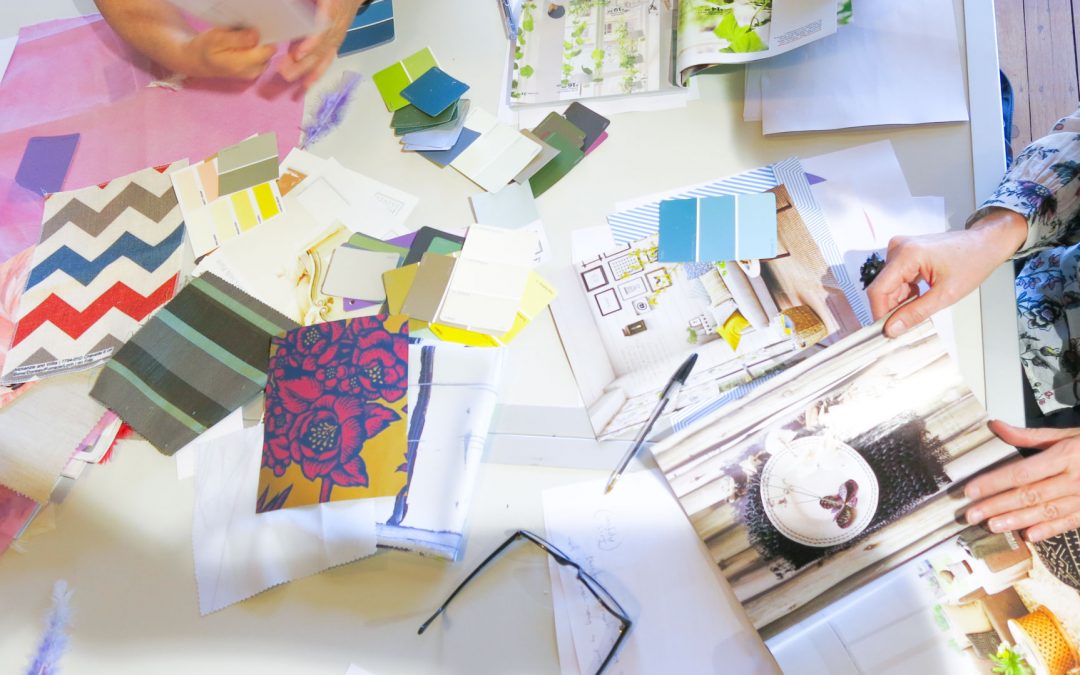
Collect, Curate, Create
All you need to get started are a background (foam core board, pin board, cardboard), a selection of inspirational images from interior design or special interest magazines, paint colour chips, fabric and wallpaper swatches, and some inspirational objects (haberdashery products, natural objects, dried flowers, etc.). Start collecting these items four to eight weeks before you plan to work on your mood board so that you have everything ready on the day. Once you are set up, it is time to chose the items for your board – this is where your job as a curator starts. Play around with your items and arrange them until you are happy with your outcome. In my workshop, I will explain how to use the Elements & Principles of design to improve your board. Don’t be frustrated if you can’t get it right at the first time; see it as your inchoate, first draft. Once you place your mood board in situ to observe how you feel about it, you can always go back and tweak it where necessary. It might take a few weeks until you are happy with the outcome – always remember, it is a creative project, which will evolve over time. Then, use your mood board as a reference when shopping, which means you will save time because you know what to look for, and you will save money because you won’t buy pieces that do not work in your interior. And if you decide to outsource this job to a designer you will have a great starting point.
The good news is: once you have embraced the process of mood boarding and tried it for your downsizing project you can use this versatile technique for all sorts of personal and professional ventures: your yearly goals, your next holiday, your bucket list, etc.